WordPressのサムネイル画像のwidthとheightを変更して表示させる方法
※本ページはプロモーションが含まれています
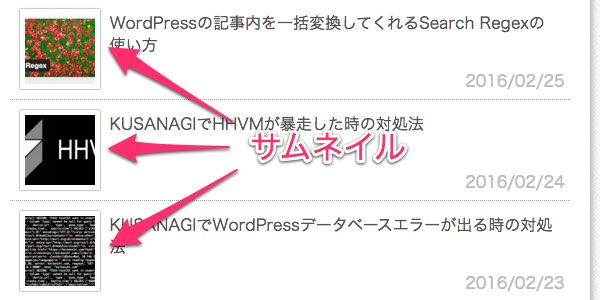
WordPressで「the_post_thumbnail()」関数を使うと画像のサムネイルを取得することができます。
しかし、widthとheightがそのサムネイル画像に合わせて自動で書きだされてしまい、Retinaディスプレイ等の高解像度ディスプレイでは画像がぼやけてしまいます。
一応下記のようにすればwidthとheightを指定できるのですが、サムネイルサイズを指定することができません。
<?php the_post_thumbnail( array(100, 100) ); ?>
200×200のサムネイルをwidth・heightを100で表示させたいのに、100に近い150pxのサムネイルが勝手に指定されてしまい期待通りの動きをしません。
そこでadd_filterを使い無理やりwidthとheightを変更しましたのでその方法を紹介します。
widthとheightを変更
「functions.php」にコードを追加。
add_filter( 'post_thumbnail_html', 'modify_post_thumbnail_html' ,99 ,5 );
function modify_post_thumbnail_html( $html , $post_id, $post_thumbnail_id, $size, $attr ){
  // width height を置換える
  if ( isset($attr['width'] ) ) {
    $replace_width = '/width="[0-9]+"/';
    $replaced_width = 'width="'.$attr['width'].'"';
    $html = preg_replace($replace_width, $replaced_width, $html);
  }
  if ( isset($attr['height'] ) ) {
    $replace_height = '/height="[0-9]+"/';
    $replaced_height = 'height="'.$attr['height'].'"';
    $html = preg_replace($replace_height, $replaced_height, $html);
  }
  return $html;
}
サムネイル表示させたい部分に、「the_post_thumbnail」関数を使い、widthとheightを指定する。
<?php
the_post_thumbnail('thumbnail' ,
 array('width' => '80' , 'height' => '80')
);
?>
おわりに
タグごと書き出してくれる関数は便利な半面、小回りが効かなくて困ることがあります。
力技ですが、なんとか期待通りの結果が出て良かったです。