DockerでWordPressのテーマ・プラグインのテストを実行する手順
※本ページはプロモーションが含まれています
DockerでWordPressのテーマ・プラグイン開発環境を構築する手順の続きの記事です。
実際にテストを通すところまでのメモ。
WP CLIでテストファイルと環境を構築
docker-compose.ymlがある作業フォルダに移動した状態で、下記コマンドでコンテナに入る。
docker exec -it [wordpressのコンテナ名] /bin/bash
入った直後は、「/var/www/html」にいるので作成しているプラグインのフォルダへ移動。
cd wp-content/plugins/プラグイン名
wp scaffoldでプラグインのテストファイル群を作成。(設定していない場合は –allow-rootオプションも必要)
wp scaffold plugin-tests プラグイン名
「bash bin/install-wp-tests.sh」でテスト環境の構築。データベース名、ユーザー名、パスワードは、テスト用のDB設定なので自由な設定でOK。「mysqlデータベースのコンテナ名」は、Dockerで環境構築時に作ったmysqlコンテナの名前を指定。
bash bin/install-wp-tests.sh [データベース名] [ユーザー名] [パスワード] [mysqlデータベースのコンテナ名]
mysqlのエラーが出る時は、WordPressコンテナにmysqlが入っていないのが原因。公式WordPress Dockerイメージにはmysqlが入っていないから。
Dockerファイルでmysqlを入れる必要がある。
RUN apt update \
     && apt install -y sudo git default-mysql-client subversion \
実際にはこんな感じで「bash bin/install-wp-tests.sh」を実行。
bash bin/install-wp-tests.sh wordpres_test root 'wordpress' db
エラーが出ていなければ、テスト環境ができた。
install-wp-tests.shのエラーが出る場合、ファイルが壊れている可能性があるのでもう一度scaffoldしてファイルを作り直してみる。
wp scaffold plugin-tests プラグイン名
ちなみに、「nstall-wp-tests.sh」はプラグインフォルダに「bin」フォルダができているので、その中に入っている。
そのまま、WordPressのコンテナ内の開発中のプラグインのフォルダ内で「phpunit」を実行。
phpunit
PHPUnit Polyfillsを使えというエラーが出る。
Error: The PHPUnit Polyfills library is a requirement for running the WP test suite.
If you are trying to run plugin/theme integration tests, make sure the PHPUnit Polyfills library (https://github.com/Yoast/PHPUnit-Polyfills) is available and either load the autoload file of this library in your own test bootstrap before calling the WP Core test bootstrap file; or set the absolute path to the PHPUnit Polyfills library in a "WP_TESTS_PHPUNIT_POLYFILLS_PATH" constant to allow the WP Core bootstrap to load the Polyfills.

If you are trying to run the WP Core tests, make sure to set the "WP_RUN_CORE_TESTS" constant to 1 and run `composer install` before running the tests.
Once the dependencies are installed, you can run the tests using the Composer-installed version of PHPUnit or using a PHPUnit phar file, but the dependencies do need to be installed whichever way the tests are run.
WordPressのコアユニットテストのPHPUnitのバージョンが9系にアップデートされたが、WP CLIのscaffoldで作成される環境に対応していないらしい。
エラーにはYoast/PHPUnit-Polyfillsを使えということなので使う。
Composerを使うので、入っていない場合はインストール。
開発中のプラグインに「composer.json」を作成。
{
    "require-dev": {
        "yoast/phpunit-polyfills": "^1.0"
    }
}
コマンドラインツールで開発中のプラグインフォルダに移動し、「composer install」でインストール。(WordPressコンテナ内ではないので注意)
composer install
開発中のプラグインフォルダの中に、wp scaffoldで作成された「test/bootstrap.php」があるので開いて編集。
下記コードを追加。(composerが作成したvenderフォルダの位置指定に注意)
if ( ! defined( 'WP_TESTS_PHPUNIT_POLYFILLS_PATH' ) ) {
    define( 'WP_TESTS_PHPUNIT_POLYFILLS_PATH', dirname( __FILE__ ) . '/../vendor/yoast/phpunit-polyfills/' );
}
これで「phpunit」を実行できるようになる。
「wp scaffold」で作成された状態では、初期のテストがexcludeされているので、開発プラグインフォルダのトップにある「phpunit.xml.dist」を開き、「exclude」をコメントアウト。ついでにtestsuiteにnameが指定されていないというエラーが出るので、テキトーな名前をつける。
<?xml version="0.0"?>
<phpunit
    bootstrap="tests/bootstrap.php"
    backupGlobals="false"
    colors="true"
    convertErrorsToExceptions="true"
    convertNoticesToExceptions="true"
    convertWarningsToExceptions="true"
    >
    <testsuites>
        <testsuite name="test">
            <directory prefix="test-" suffix=".php">./tests/</directory>
            <!-- <exclude>./tests/test-sample.php</exclude> -->
        </testsuite>
    </testsuites>
</phpunit>
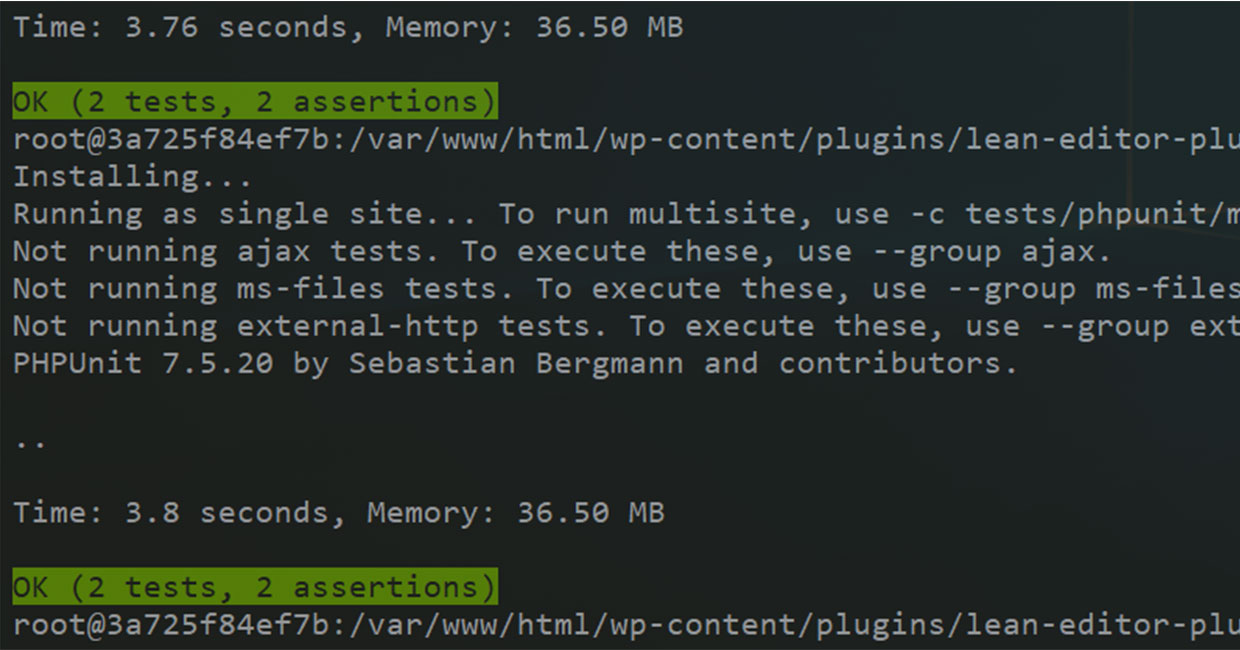
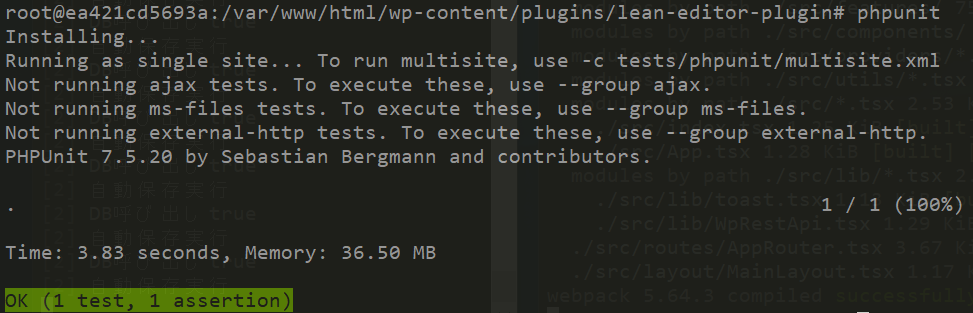
この状態で、WordPressコンテナ内の開発プラグインフォルダの中で「phpunit」を実行すると、scaffold時に作成された「test-sample.php」が実行されテストが通る。(test-sample.phpのテストは絶対に通るようにtrueを返しているため)
おわりに
ところどころつまづきましたが、何とかテストを書くところまでたどり着けました。